1983 Audi quattro-Updated Fuse Box Etc.
by cbrydon • March 28, 2012 • 1983 Audi ur quattro 20VT
A bit of an update on progress across multiple fronts…since I was waiting on some suspension parts and the weather was still too cold for harness manipulation, there was quite a bit of bouncing around from one area to another. Or maybe I have ADD/ADHD and just don’t know it…
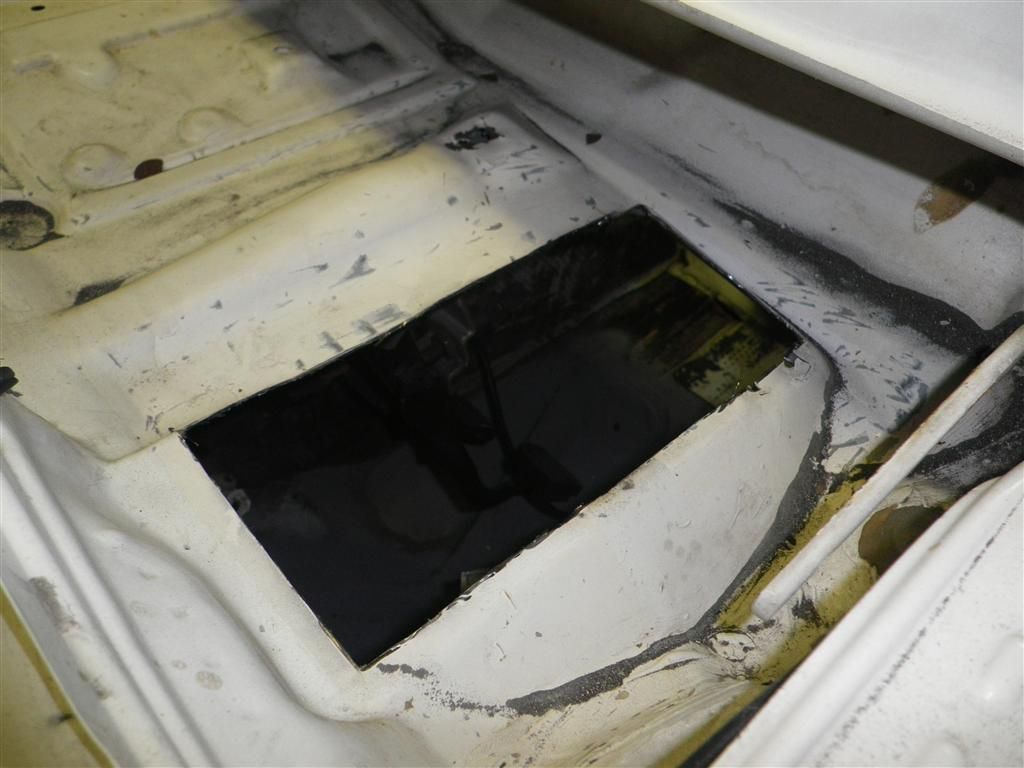
I finally made the first cuts into the chassis to get the fuse box ready for mounting…
A bit more trimming of the flange and it has a nice perimeter bonding interface to the chassis…
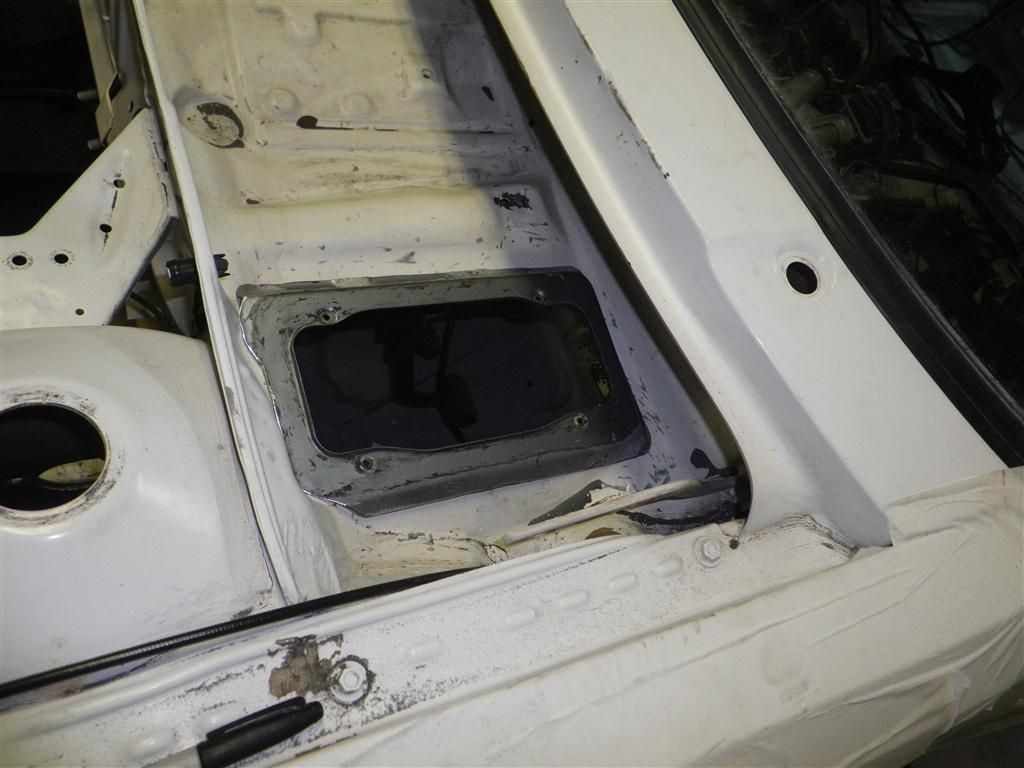
Then I cleaned up the flange to bare metal for the adhesive…
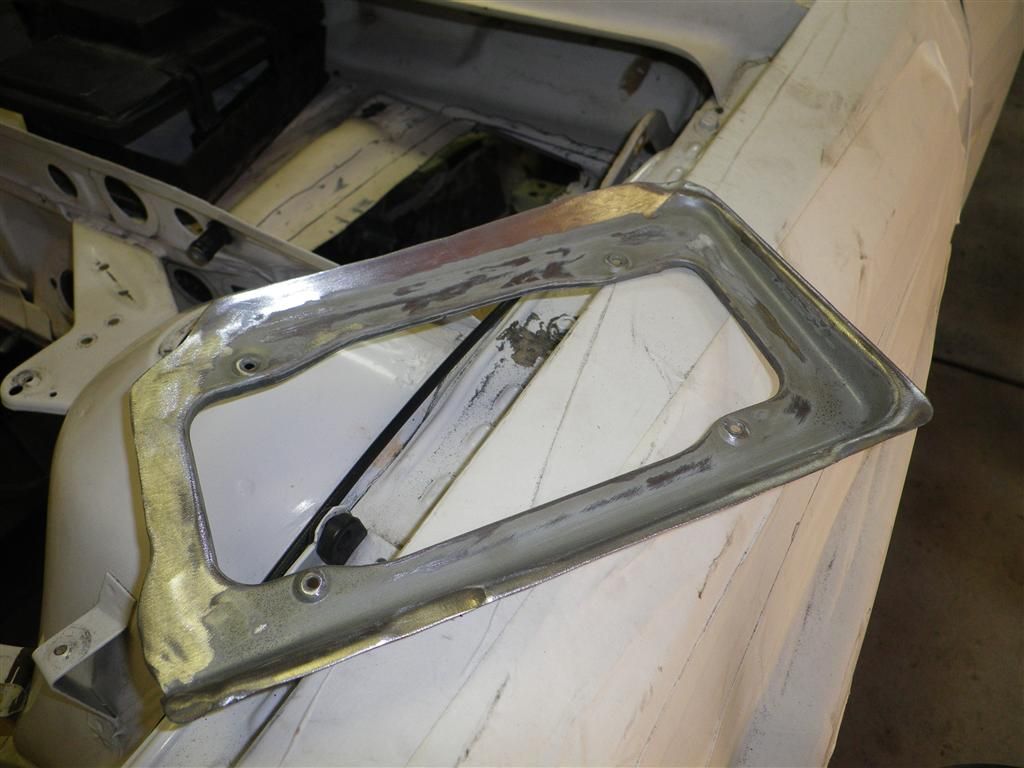
I am using a 3M panel bonding adhesive for this mostly non-structural patch…

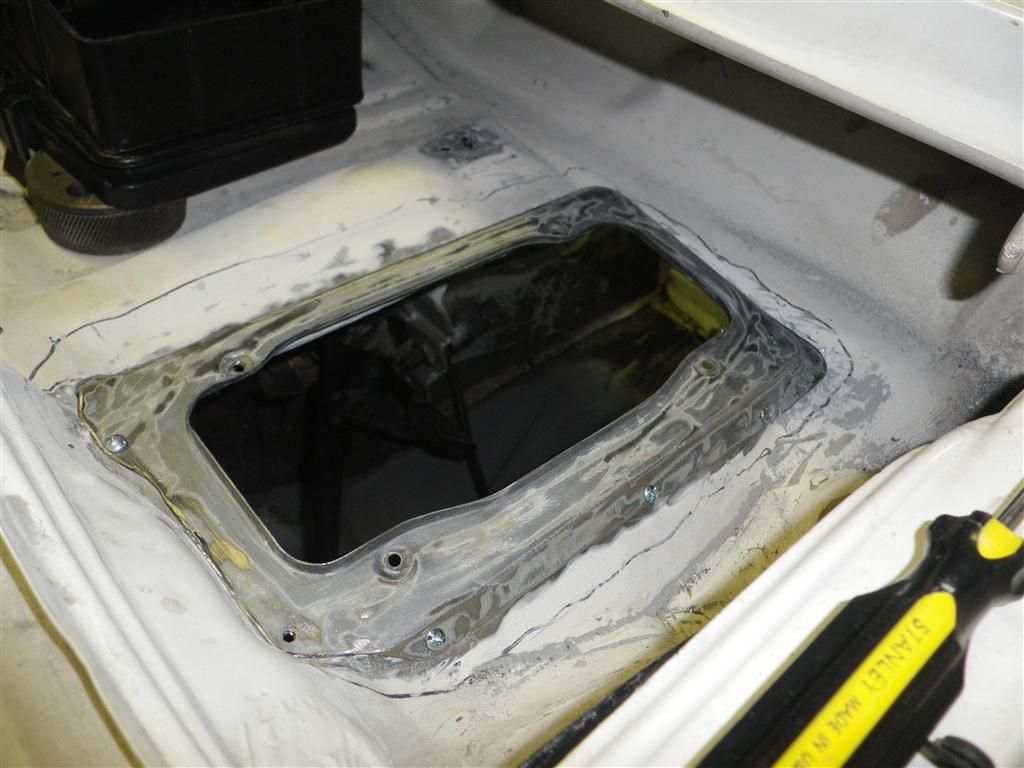
And here it is all prepped and mocked up in place…
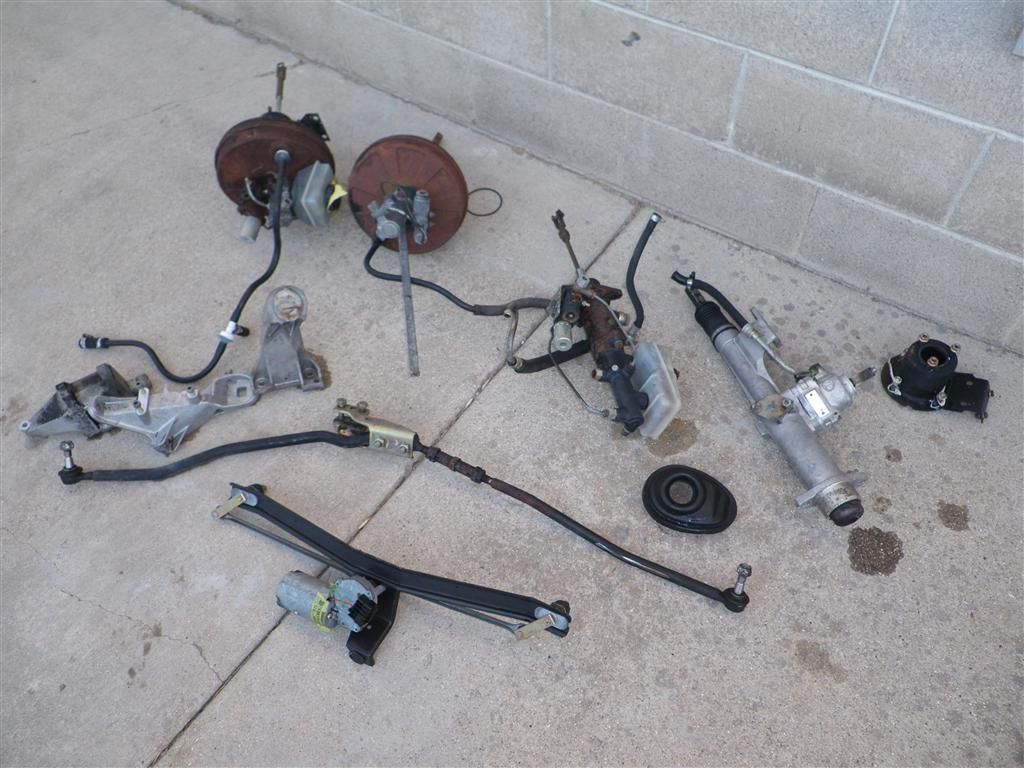
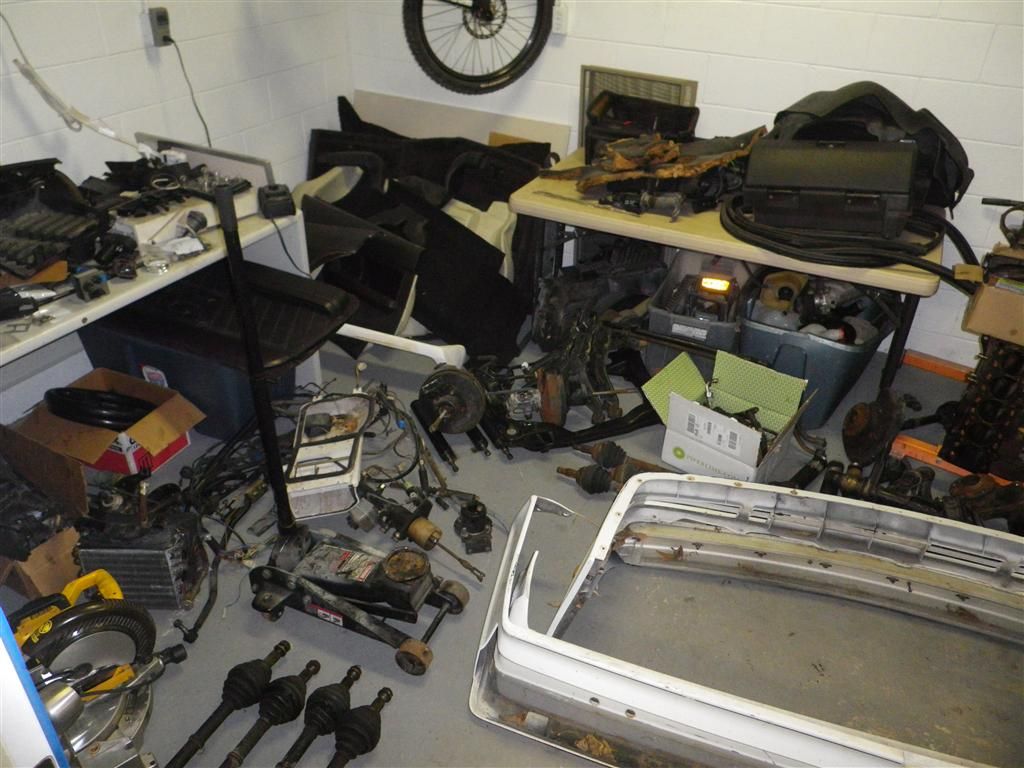
I also acquired some more suspension pieces…as I want spares for the eS2 as well. I’m hoping both cars can have mostly the same suspension/drivetrains for maintenance simplicity. These need to be disassembled and cleaned up still…

I also used a break in the weather to get some parts cleaned up that will allow me to start putting the engine bay back together…
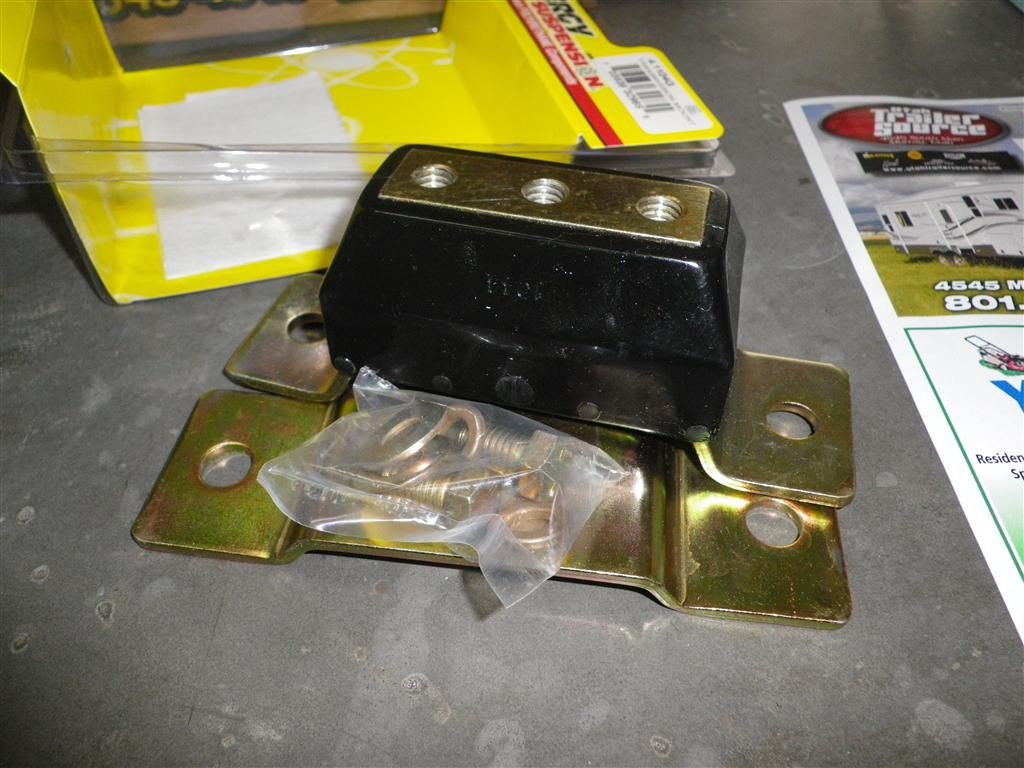
I picked up a set of Mustang tranny mounts to use for the motor mounts. I was not happy with the 034 ones on the eS2 and have heard great things about these. I just needed to increase the hole spacing by .05” or so. I’m hoping I can use the rear mounting holes to shift the motor back a bit. It is hard to beat the price on these to.
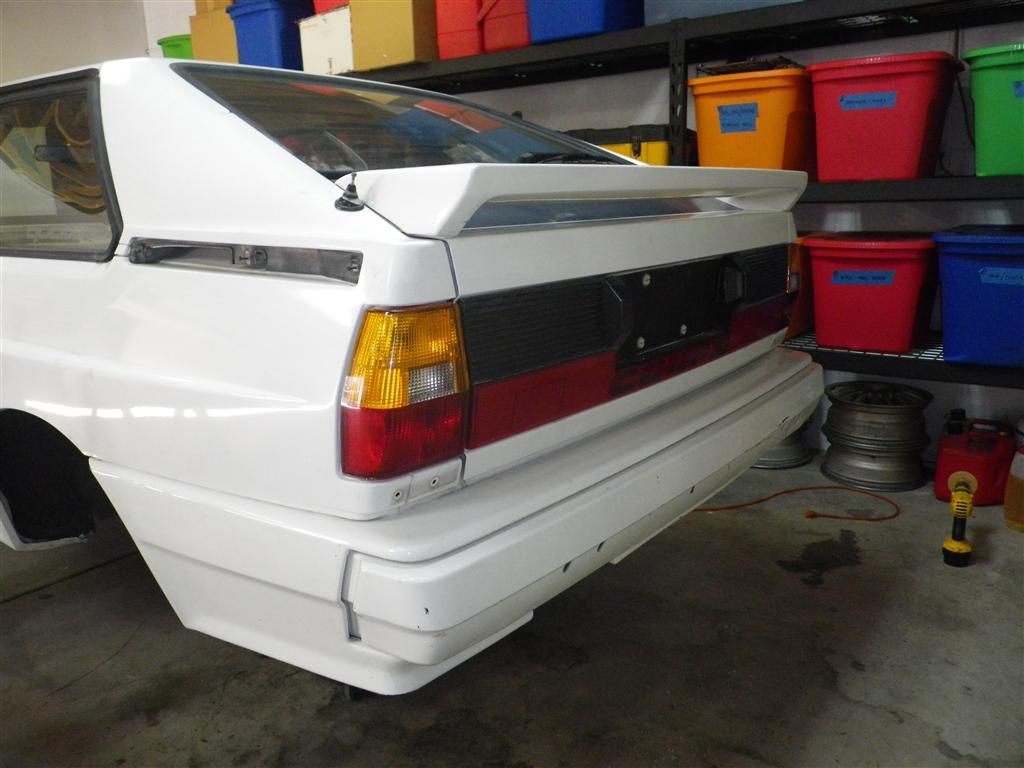
I’ve got pretty much all the parts sitting around and could not walk around these bumpers anymore, so I decided to at least get the rear back on temporarily…
I also took this opportunity to clean the bumpers inside and out…
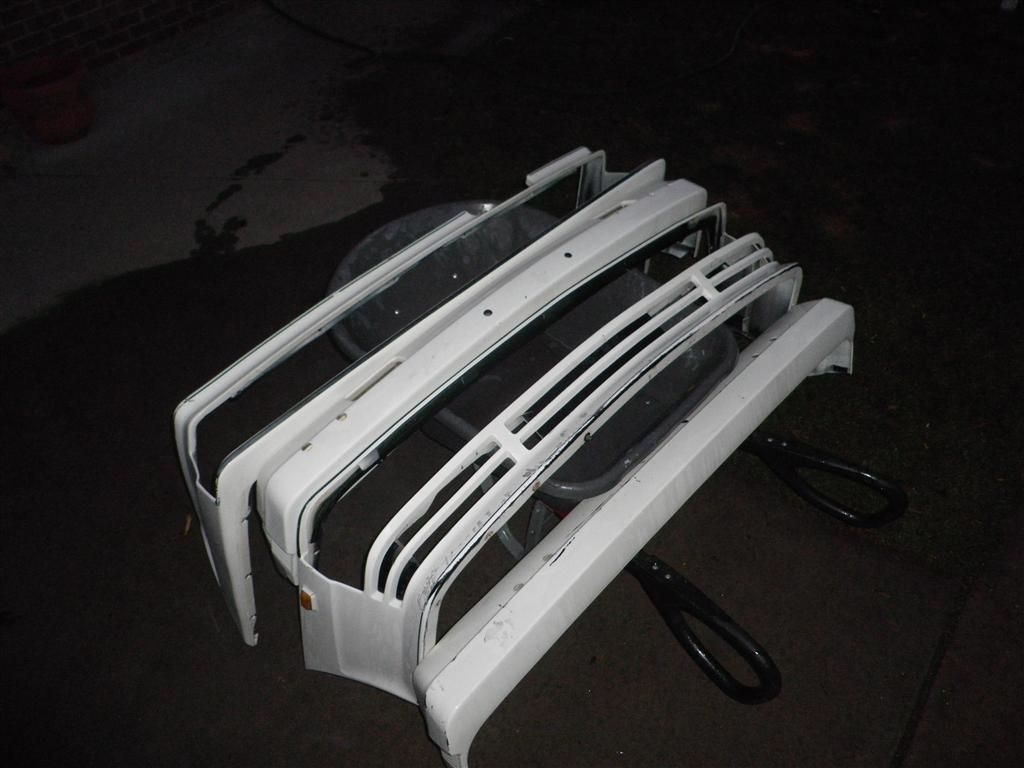
And get the shocks turned in to reduce the OAL of the car. I had to weld the shaft to keep it from spinning…

I threaded the rest of the shaft so I could just turn them in and have them in any position that I ultimately wanted…
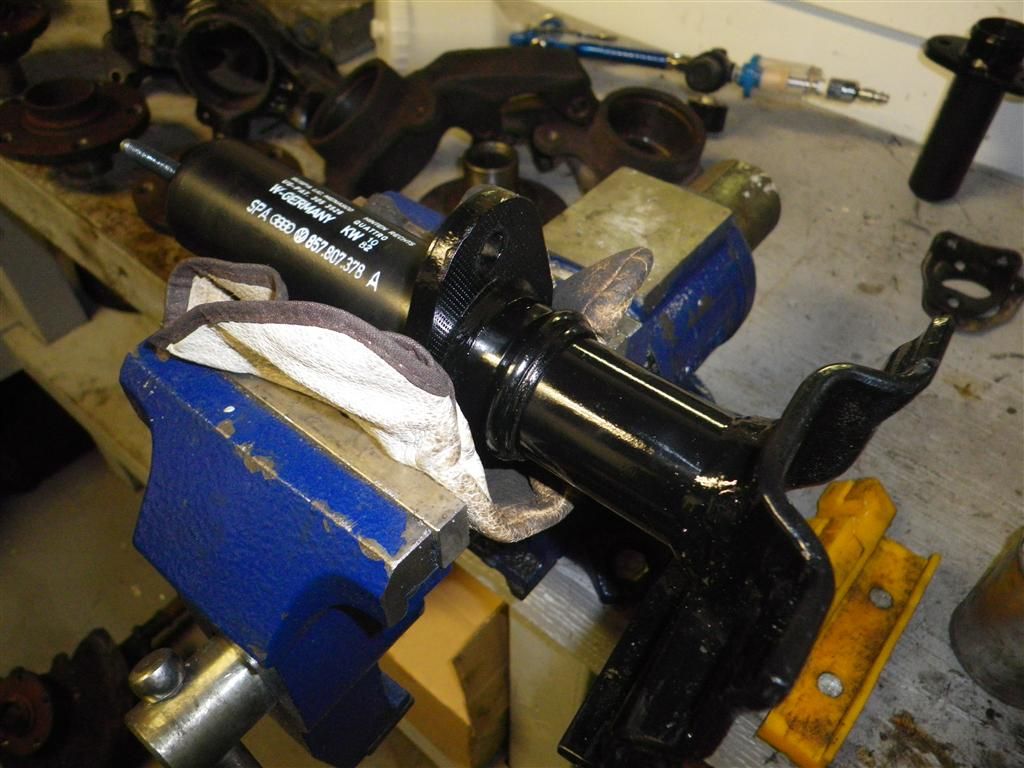
All cleaned up, regreased, and mounted in place. These are turned in most of the way here. I also removed the reflectors under the lights. The holes will be filled ultimately, but plugged initially…

It can go a bit further, but is good for now. At least the bumper is out of the middle of the room…
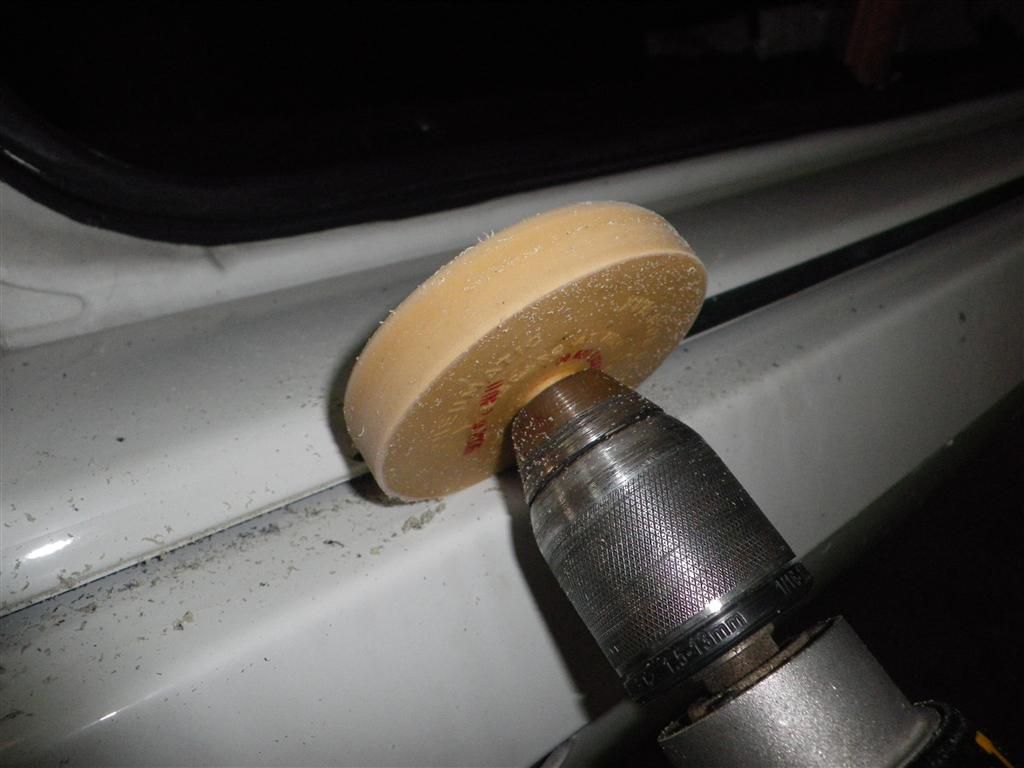
I also removed the rest of the pinstriping at this point with my gummy wheel. This worked better than a heat gun on these old, weathered stripes…
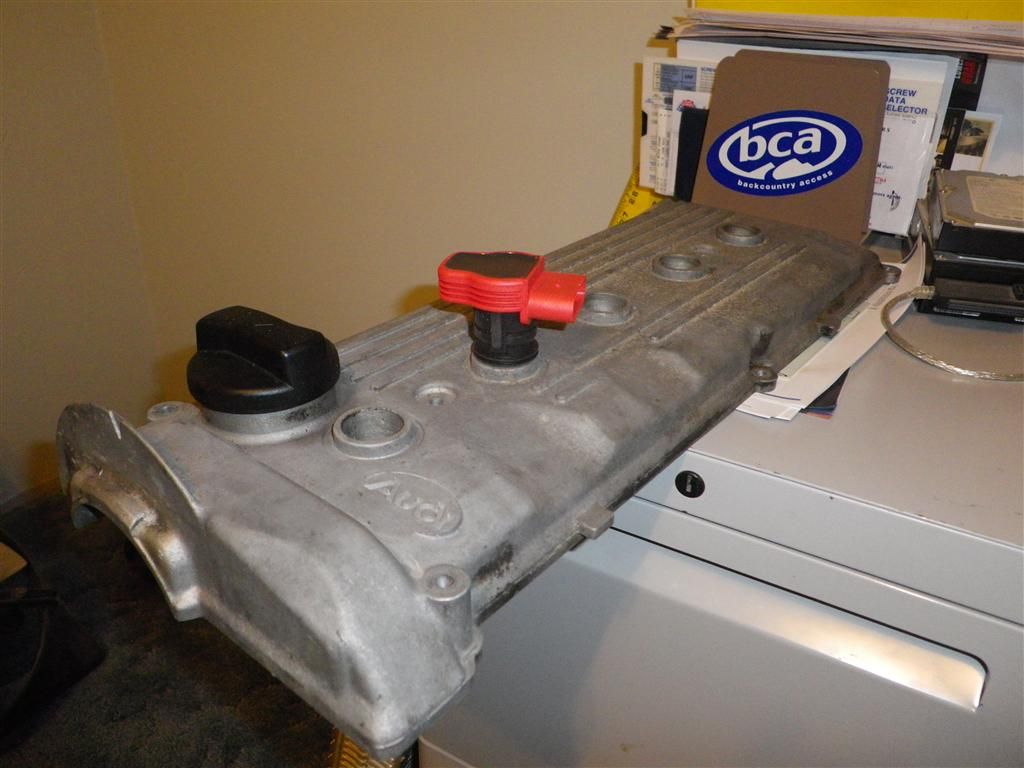
I have decided to try the 2.0T coils initially and have been looking at the best way to work them into the build. Here they are on a 7A cover. Very close to the fill port…
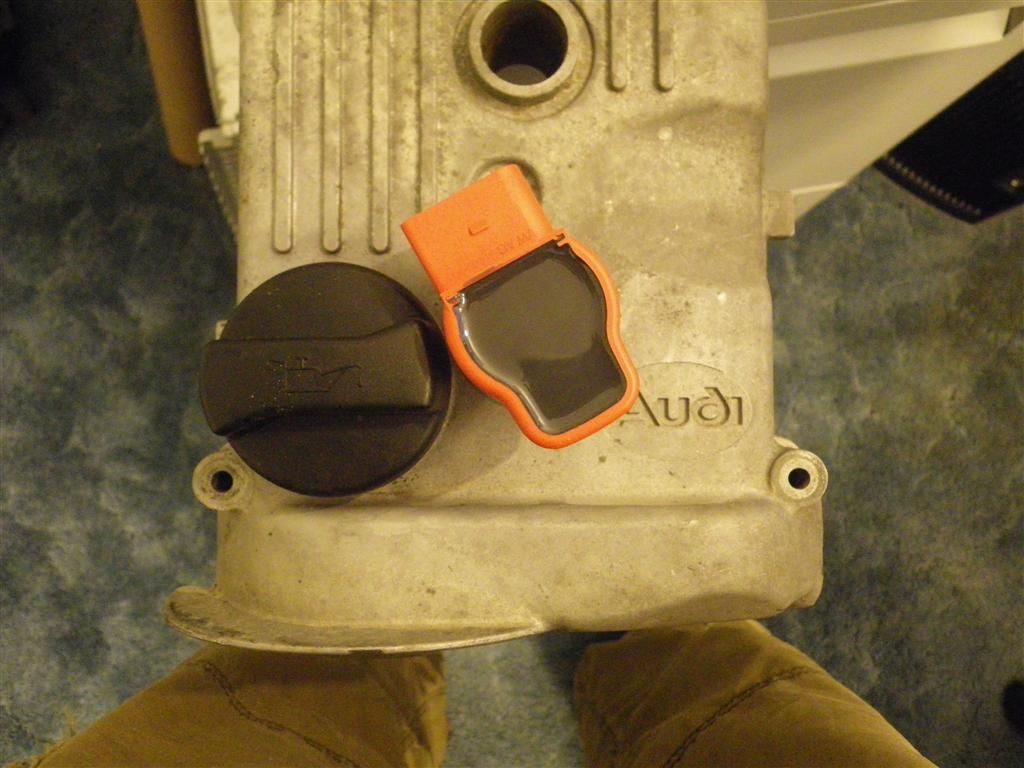
And the holes will need to be reworked a bit, along with spacers to match the coil pack height…Some have modified the coil pack rubber, but I’d rather have a plug n play solution, even if it is a bit of extra work up front
Of course, the other options are an AAN, which I don’t really like, or to just replace the whole valve cover with something custom. I have started playing around with a design here…
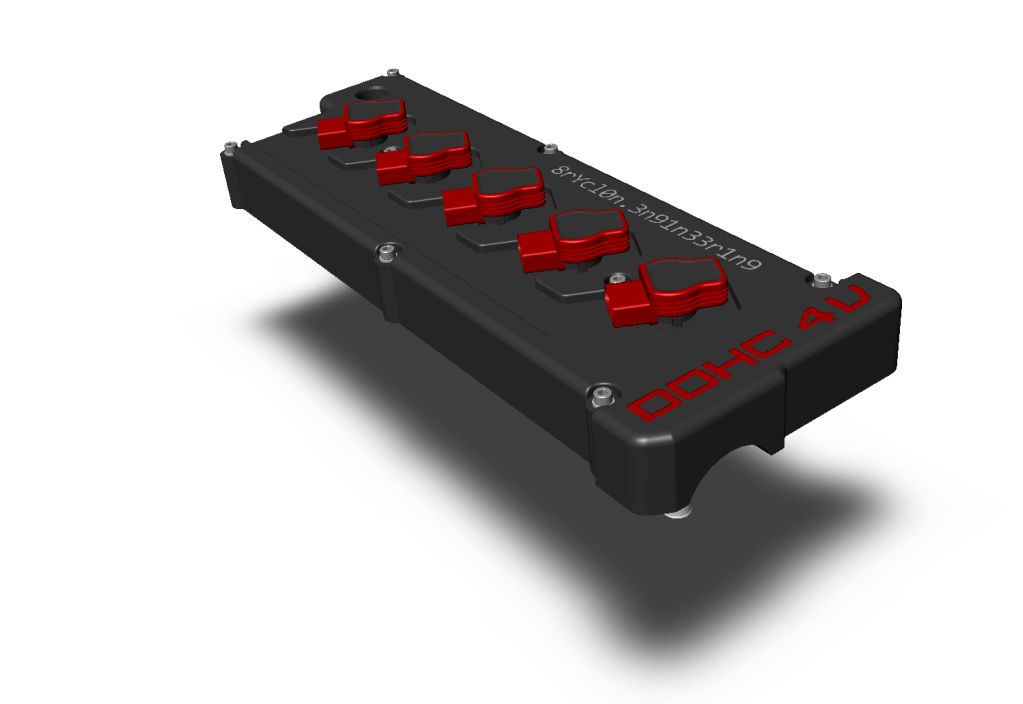
Too bad raw material is so damn expensive; individual spacers/modified upper plate for the 7A would be the most cost effective solution. I’ll need to think about it and play around with some designs for both routes.
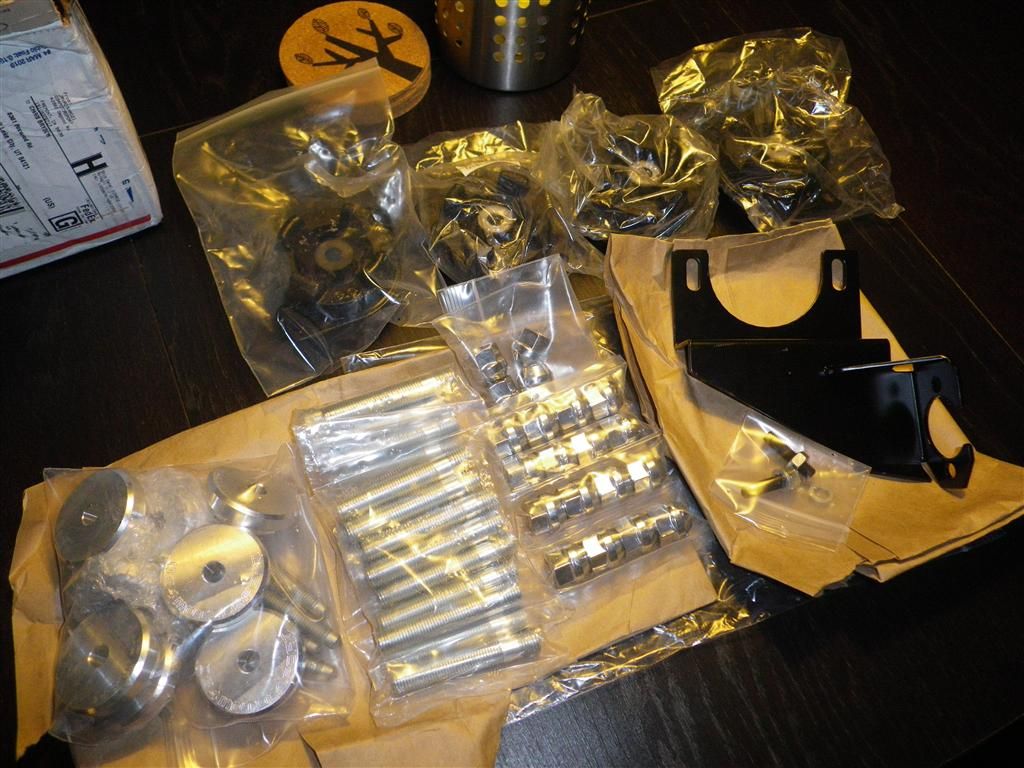
I got a nice shipment from 034 the other day with everything except for the offset bushings. I was surprised to see that they are milling the standard spacers now. I guess it’s cheaper for them than the lathed ones I had received before. I also got some studs, a firewall brace, and some track density tranny mounts…
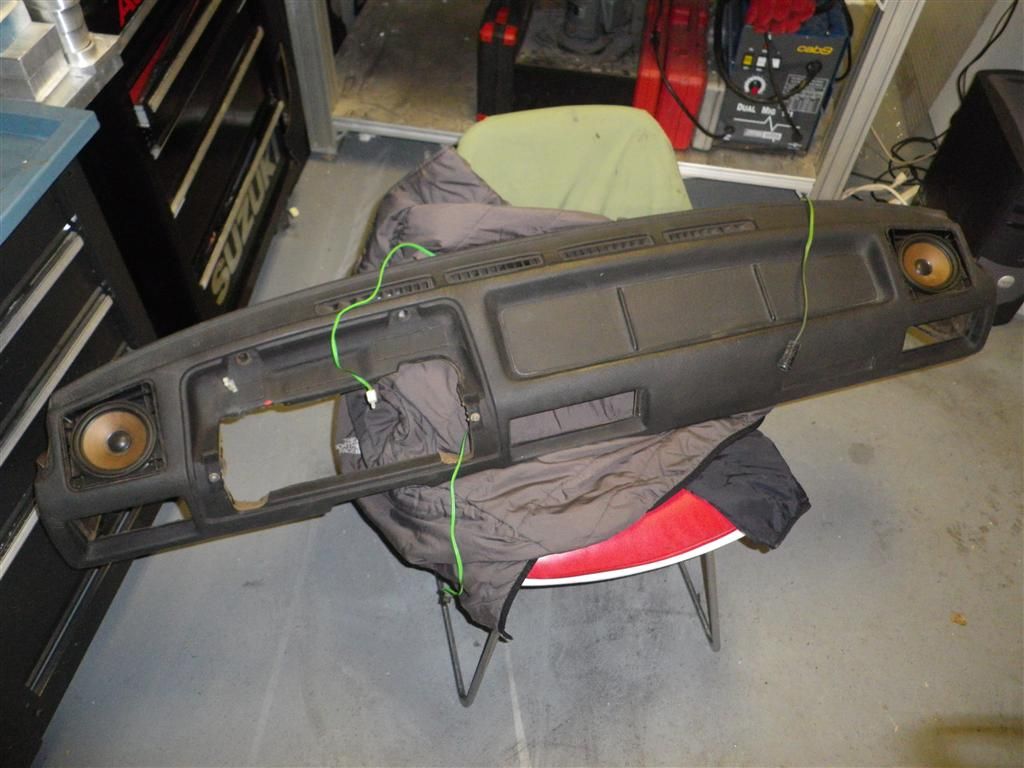
In an effort to prepare for the wiring, I have been getting interiors bits together. The HVAC components, center console and dash are making their way in to determine what wires need to go where…
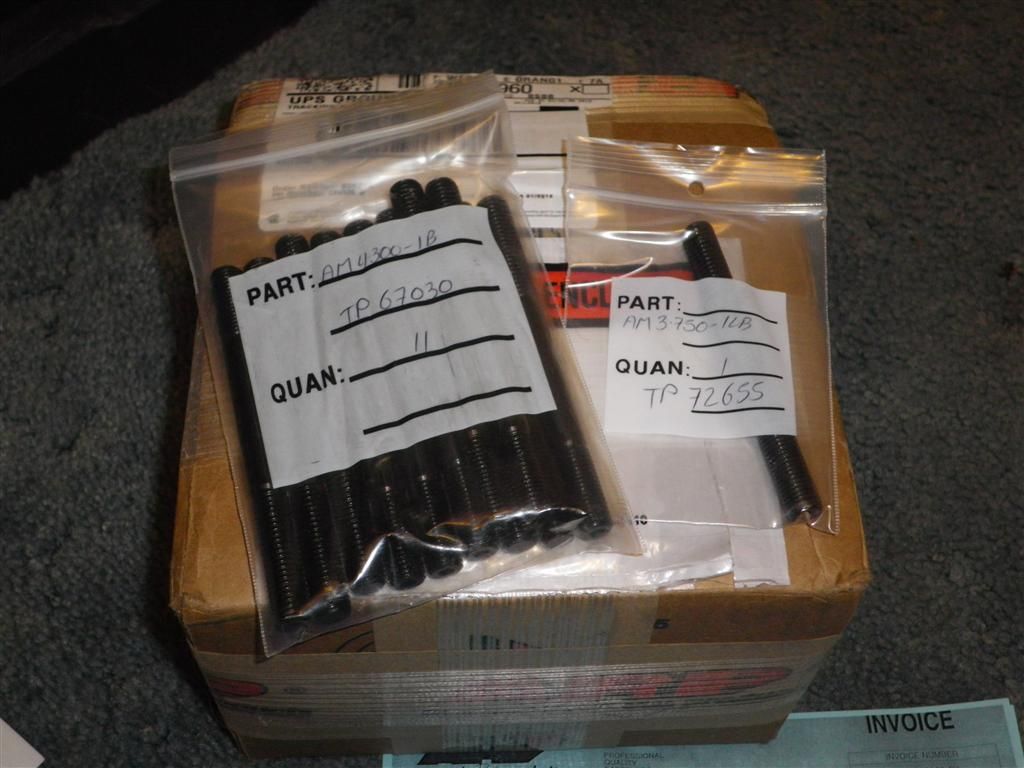
I am also pleased to report that ARP exchanged my main studs with absolutely no hassle whatsoever. I just specified what I wanted (which is what I hope I need, lol) in replacement. This issue has been discussed before…
[url]http://www.motorgeek.com/viewtopic.php?p=535832[/url]
I ended up with eleven at 4.30” and one at 3.75”. I assume the exclusive 034 kit has those lengths, but cannot confirm definitively…
Oh, and I got this to play with, too…a VEMS ECU …so hopefully I can get all of the wiring sorted out here this spring.
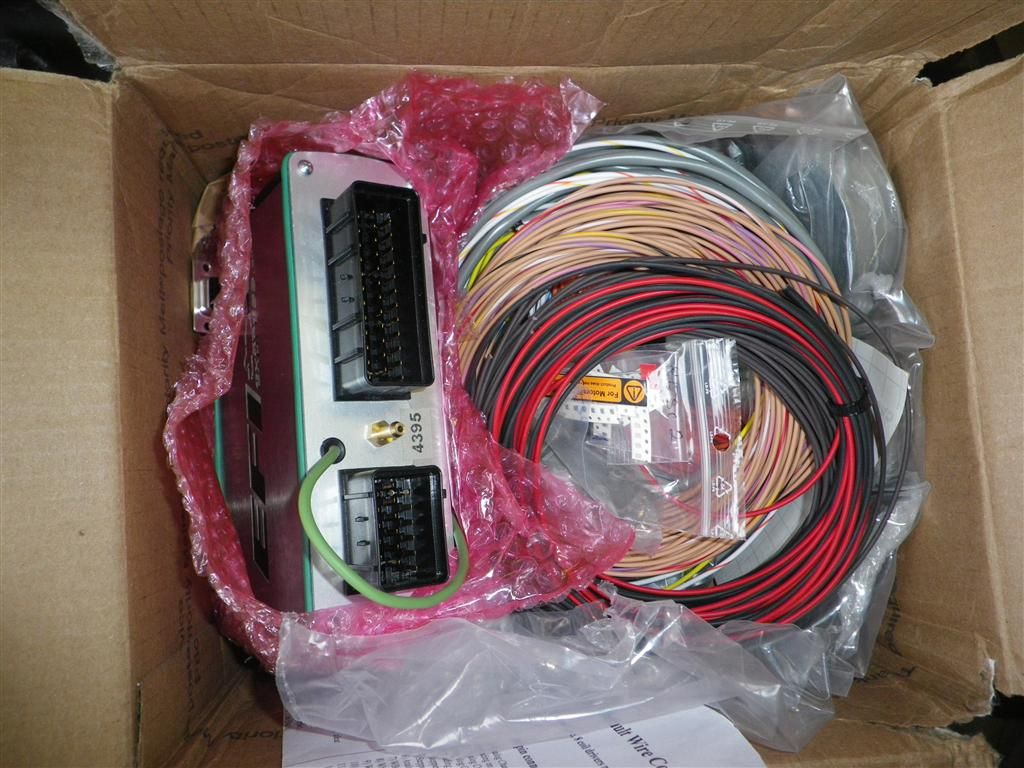
Still uncertain as to how I want to do the wiring exactly. The original plan for AAN harness splice is becoming less attractive as many engine sensors and components are moving away from the original I5 connectors that make the original harnesses a plus. The interior side is a moot point as the 55pin connector is going away anyway.
This is really starting to get fun now…