Audi S2 Coupe Project-Mating the Transmission
by cbrydon • May 22, 2010 • 1991 Audi CQ S2 Conversion
With my updated list created, it was time to make some more progress. I started with getting the flywheel and clutch mounted to the engine. The 3B had the pilot bearing for the 016 in the crank, but the 01A for the CQ has it in the flywheel. New bearing put in the Fidanza aluminum flywheel with the internal retaining rings from the 7A flywheel. I also removed the 3B bearing from the crank.
The pins in the flywheel made me have to go back and do a little more research. The flywheel came with the small pin pressed into the back (crank side) and the three short pins for aligning the clutch in the front. In addition, there were two long pins that came with the flywheel. That was where I was scratching my head? I wasn’t certain if all were required for the ECU. The 7A that I pulled only had 1 of these pins pressed into the front; the aluminum flywheel has holes to put both in the front.
From what I gathered, the ECU needs only the pin on the back (timing reference) and uses the starter teeth for the speed. The two long pins on the front apparently are only used in diagnostics with VAG specific instruments. Not to say you couldn’t use them yourself. So I ended up loctiting the pin that was the same as the 7A flywheel before I realized that I didn’t need them. I left it on there anyway. Then, I torqued the flywheel to the crank.
With the flywheel mounted, I was able to get the clutch on in preparation for mounting the tranny. This is a Spec Stage 3 unit. If I had to do this again, I probably would have done the 3+, but we’ll see how this works. I have had this stuff sitting for the past 3-4 years. I’m thinking it will be a bit grabby and probably doesn’t help to have a lighter flywheel to be grabby with.
I cleaned up the tranny some more, but it really needs some steam cleaning to get it really clean. Then I greased up the snout and installed a new throw out bearing. At this point I also realized one of the alignment pins on the 3B was much larger than the hole on the 01A. I machined a little aluminum bushing to take up the difference.
So I had the engine on the hoist lowered onto a piece of wood for stability and put the tranny on my 3 ton floor jack at the balance point. Then with a little wiggling, it slid right into position. Then I installed the starter and all of the mounting bolts.
I painted a few more parts. This is the block sensor connector bracket and the water line for the driver side of the motor. I also painted the crank breather that runs under the pressure pipe.
I did a bit more cleaning of the bay and got the 3B harness routed through the AC line grommet. I also temporarily mounted the battery distribution block, ignition stage, and block sensor connector bracket. You can also see that I still have the entire 7A harness in the car. I am now to the point of getting everything wired up and spliced in.
So with the engine and tranny on the hoist I was able to slide everything into place. I was able to do all of this without any additional hands. There is plenty of room to slide it all in and then I just put in the engine and then put in the tranny and motor mounts.
I am using the 034MS street density mounts in both cases. You can also see the 034MS aluminum subframe mounts here.
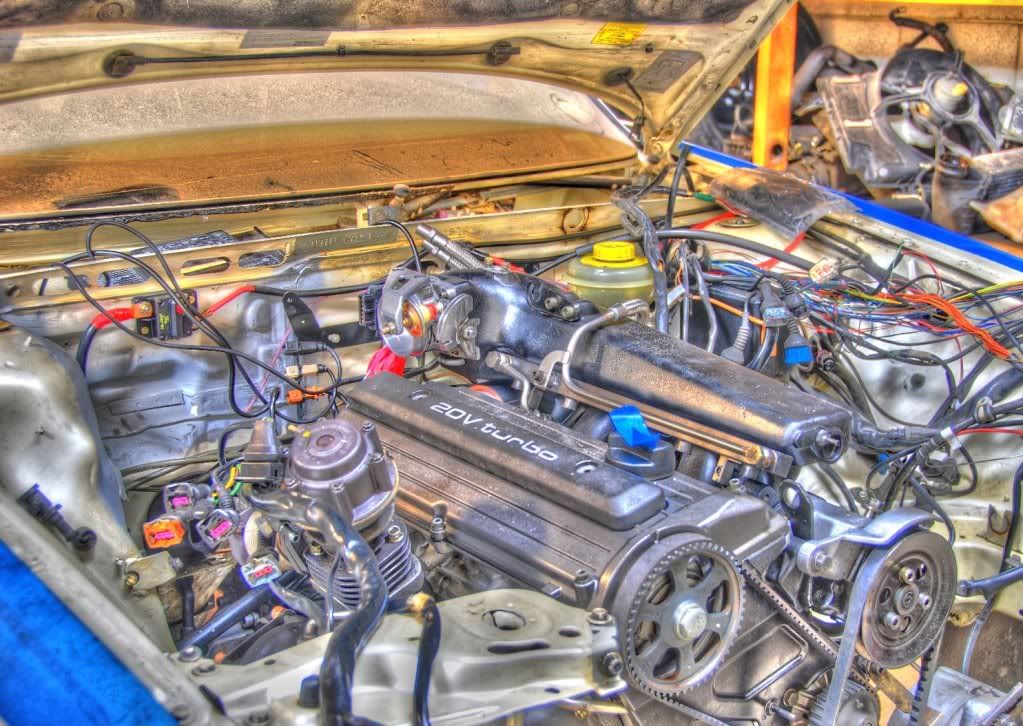
And here is the bay as it currently stands. I need to do some more wiring and get all of the critical items plumbed up. I’ll try and get things running with everything as torn apart and accessible as possible and put things back together once I’m pretty sure it won’t need to come apart again.